


How To Install Your New AXIS Video Camera
AXIS video cameras are considered professional grade and are widely recognized as industry standard products. They are designed to deliver consistent, reliable performance over many years of use. However, to ensure that these cameras function as intended, it is essential that they are installed properly during the initial setup. The installation process plays a critical role in determining how effectively the camera will operate. Each AXIS camera must be installed in accordance with its specific requirements and guidelines. Proper installation is not just recommended but necessary to achieve optimal performance, stability, and durability. The effectiveness of the video surveillance system depends greatly on how accurately the camera is positioned and how well the associated accessories are configured. The method used to install an AXIS video camera, as well as the selection of mounting hardware and other accessories, will vary depending on the type of environment in which the camera is being placed. There are two primary types of installation environments or location types, each with its own unique considerations and challenges. These location types influence the choice of installation technique and determine the appropriate accessories to be used for securing the camera and protecting it from environmental factors.
Video Camera Location Types
Indoor Installation
Video cameras that are installed in indoor environments typically do not require weatherproof housings, as they are not exposed to the elements such as rain, snow, or extreme temperatures. Because of this, indoor cameras are generally more compact in size and designed to blend seamlessly into interior spaces. Their smaller form factor makes them easier to install on ceilings, walls, or even discreetly within fixtures. Since environmental protection is not a concern indoors, these cameras can focus more on features such as high-resolution imaging, wide viewing angles, and integration with interior lighting conditions. This allows for effective monitoring and surveillance without the need for bulky or rugged enclosures.
Outdoor Installation
Video cameras that are installed in outdoor environments must be fully weatherproof to withstand exposure to various environmental conditions, including rain, wind, dust, snow, and extreme temperatures. These cameras are typically housed in rugged enclosures specifically designed to protect sensitive internal components from moisture and debris. In addition to selecting weatherproof equipment, proper installation is essential to ensure long-term durability and reliable performance. One critical aspect of outdoor installation is maintaining the integrity of the cable grommet seal. The grommet serves as a barrier that prevents water and dust from entering the camera through the cable entry point. If the seal is not properly secured during installation, it can lead to moisture intrusion, which may damage the camera or compromise its performance. Therefore, attention to detail during the setup process that includes securing all seals, tightening fittings, and following manufacturer installation guidelines—is crucial for the successful operation of outdoor video surveillance systems.
Video Camera Mount Types
Pole Mount
Pole mounts are designed with durable stainless steel metal straps that allow them to be attached securely to poles made of various materials, including metal and wood. These straps are flexible enough to accommodate poles of different diameters, making the mounts versatile for a wide range of installation scenarios. The mounting system relies on applied tension to stay firmly in place. Once the straps are wrapped around the pole, they are tightened to create a secure grip that holds the mount steadily, even in outdoor environments subject to wind or vibration. This tension-based method ensures that the camera remains stable and properly oriented without the need for drilling into the pole, which can be especially important when working with infrastructure that must remain unaltered or when a non-invasive installation is preferred. Pole mounts are commonly used in outdoor surveillance applications such as monitoring roadways, parking lots, parks, and other open areas where other installation types are not possible.
Wall Mount
Wall mounts are designed with pre-configured drill hole patterns that allow them to be securely fastened to a wall surface using mounting screws. These hole patterns are typically standardized to match the mounting points on the camera or bracket, ensuring a stable and reliable connection between the camera and the wall. During installation, the wall mount is positioned at the desired location, and screws are driven through the designated holes into the wall. Depending on the wall material such as drywall, concrete, or brick anchors or other hardware may be used to provide additional support and ensure that the mount holds firmly over time. Wall mounts are ideal for both indoor and outdoor use and provide a fixed, stable position for video cameras, making them suitable for monitoring hallways, entrances, building exteriors, and other targeted areas. Proper alignment and secure fastening during installation are essential to maintain the camera’s orientation and to prevent movement or vibration that could affect video quality.
Flush Mount
Flush mounts are specifically designed to house the majority of the video camera within the mount itself, allowing for a low-profile and unobtrusive installation. This type of mounting solution is ideal for environments where a discreet appearance is important, such as offices, retail spaces, schools, or residential areas. By recessing most of the camera into the wall or ceiling surface, flush mounts help the device blend more naturally into its surroundings, reducing visual clutter and minimizing attention drawn to the surveillance equipment. Despite their compact and streamlined appearance, flush mounts still allow full functionality of the camera, including clear field of view, pan or tilt capabilities (if applicable), and access to essential features. The installation of a flush mount typically requires precise cutting or modification of the mounting surface to accommodate the recessed section of the camera. Once installed, the visible portion is minimal, offering a sleek and professional look while still delivering effective video coverage.
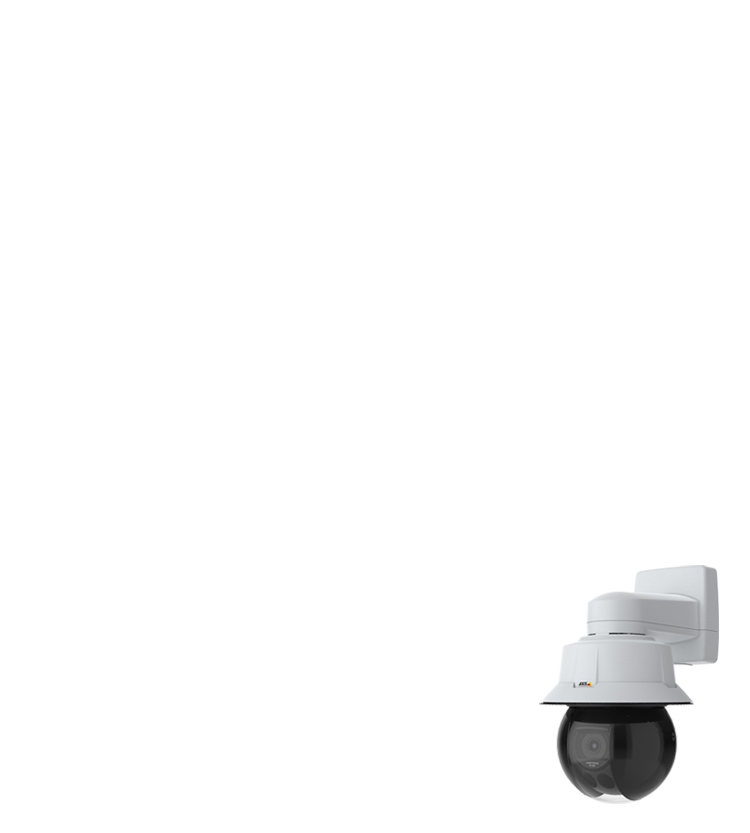
Pan Tilt Zoom (PTZ) Video Cameras
When installing a PTZ video camera, it is essential to follow proper safety and connection procedures to ensure both secure mounting and reliable operation. One important step is the use of the safety wire, which is typically included inside the mount head. This wire acts as a safeguard during installation, preventing the camera from falling if accidentally released before it is fully secured. At the beginning of the installation process, the safety wire should be attached to the designated clip on the video camera. This step should always be completed before placing the camera into the mount. Once the safety wire is connected, the camera can be carefully positioned inside the mount housing. After it is correctly aligned, internal screws should be tightened to secure the camera firmly in place. Equally important is ensuring a proper network and power connection. Most PTZ cameras use a push-pull style Ethernet connector that provides both data transfer and power through Power over Ethernet (PoE). When inserting the Ethernet cable into the camera, listen for an audible click to confirm that the connector is fully seated. This click indicates a secure connection and also activates the weatherproof seal designed to protect against moisture intrusion. A poor seal or loose connection can lead to water damage or intermittent network issues, especially in outdoor installations. By following these steps carefully, you help ensure the PTZ camera operates reliably and remains protected from environmental hazards.
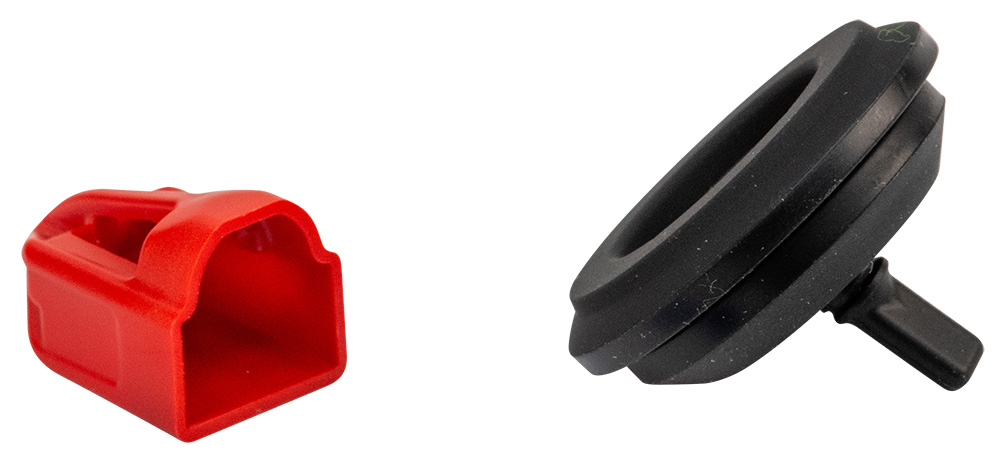
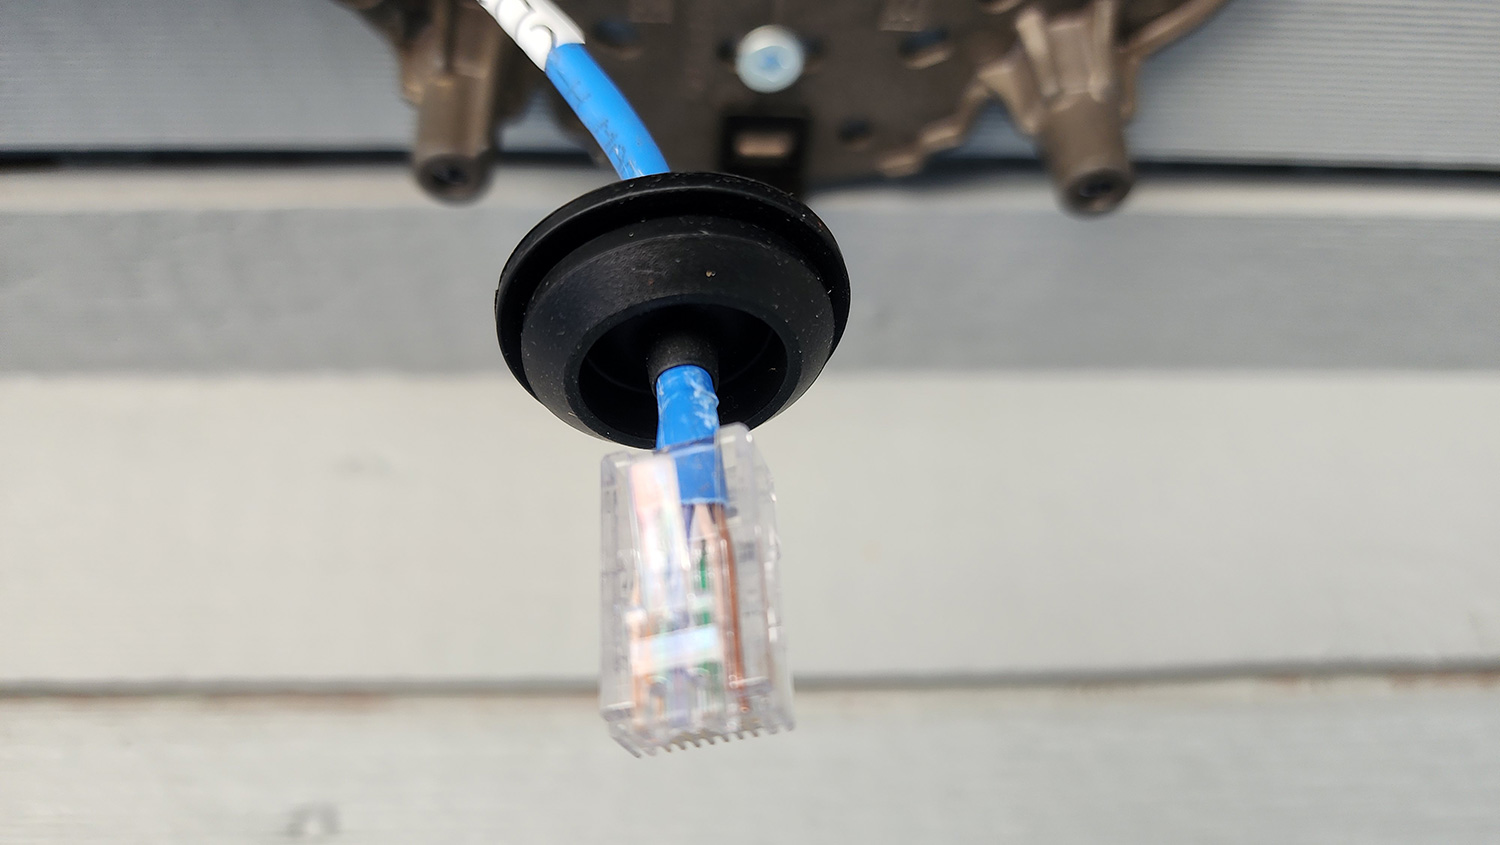
When you connect your Ethernet cable to the outdoor video camera or its mounting bracket, it is important to properly install the wire grommet. The purpose of the grommet is to help preserve the weather-resistant seal and to safeguard the connection from exposure to moisture and environmental elements. To ensure a proper seal, you should use the red plastic cover cap that is designed to fit over the tip of the Ethernet cable. This cap acts as a guide and helps you push the Ethernet cable through the rubber grommet without damaging the rubber or compromising the integrity of the weatherproof barrier. Taking the time to correctly assemble these components will help protect your camera system from water intrusion and maintain reliable performance in outdoor conditions.
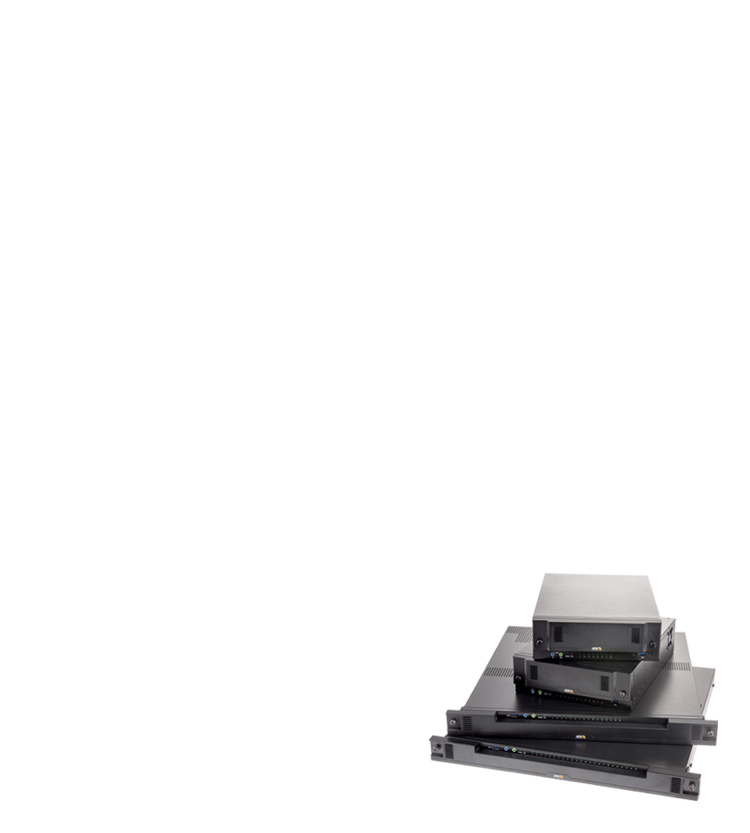
AXIS IP Utility Software
The AXIS IP Utility Software is a free download and very useful for scanning networks to find active devices. This software tool is excellent for scanning multiple IP network subnets to find devices and adjust their settings. We recommend that you download and install this software to your computer before starting any AXIS video camera setup.
Please contact the support department at CanDat Systems or Axis Communications if you have any questions regarding the installation of your new video camera.